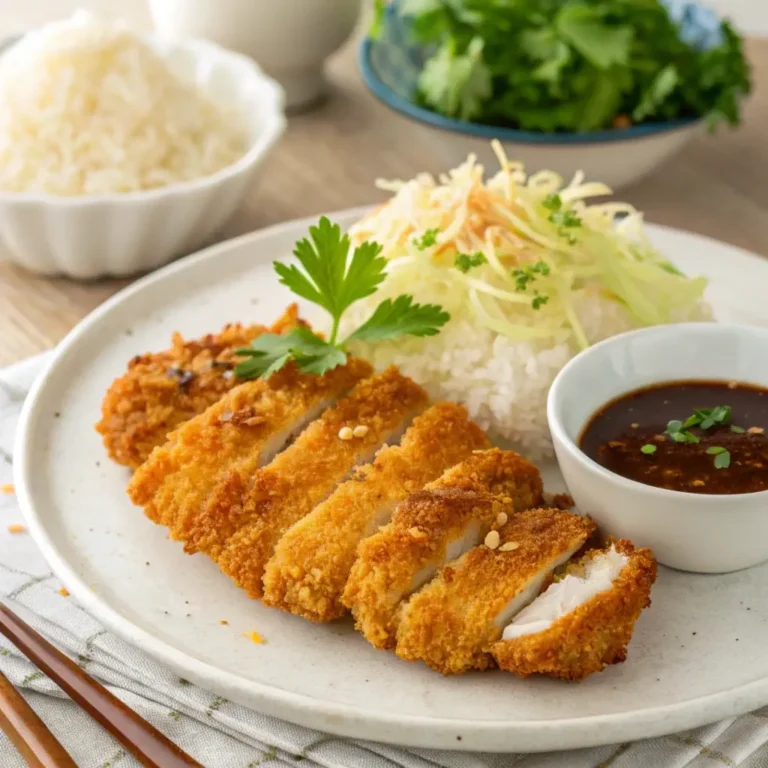
If you’ve ever craved the crispy, golden goodness of chicken katsu but felt guilty about the deep frying or intimidated by the oil splatter, you’re in for a treat! Air fryer chicken katsu is here to revolutionize your kitchen game. With an air fryer, you can achieve that classic crunch and juicy chicken center without the excessive oil. Imagine enjoying a healthier version of your favorite dish without compromising on flavor—sounds amazing, right? Let’s dive into this exciting culinary adventure!
If you’re looking for other ways to make crispy and delicious air fryer chicken, you’ll love this Air Fryer Chicken Bites recipe.
Table of Contents
What is Chicken Katsu ? A Brief History
Chicken katsu, also known as “panko chicken” in some circles, is a Japanese breaded and fried chicken cutlet. The dish originates from the word “katsuretsu,” meaning cutlet, and became a popular variation of traditional pork katsu. With its perfectly crisp exterior and tender, juicy interior, chicken katsu quickly became a favorite comfort food in Japan and beyond. It’s served with a tangy tonkatsu sauce, shredded cabbage, and steamed rice—a combination that’s as satisfying as it is delicious
Want to try a fusion twist? Check out this recipe for Chicken Cheese Taquitos for more creative ways to enjoy chicken in an air fryer.
Why Choose an Air Fryer for Cooking Chicken Katsu ?
Cooking chicken katsu in an air fryer is a game-changer for so many reasons. The air fryer mimics the effects of deep frying by circulating hot air around the food, delivering that crispy texture we all adore—without the guilt trip from excess oil. 🥳 Plus, it’s cleaner, faster, and way less messy than traditional frying.
For another versatile recipe, check out this Air Fryer Chicken Fajitas guide to see how an air fryer can simplify meal prep.
“Switching to an air fryer means you’re not only cutting back on unhealthy fats but also saving time in the kitchen. It’s like having your cake and eating it too—except in this case, it’s crispy chicken!”
Benefits of Making Chicken Katsu in an Air Fryer
Healthier Cooking with Less Oil
Let’s be honest—one of the biggest culprits in deep frying is the sheer amount of oil involved. By using an air fryer, you’re reducing up to 70-80% of the oil, making chicken katsu a guilt-free indulgence. Not only does this cut back on calories, but it also preserves the natural flavors of the chicken.
To learn more about achieving perfect crispiness, you can explore How to Make Crispy Fried Chicken for useful tips and tricks.
Faster Cooking Time Without Compromising Taste
Who doesn’t love saving time? Traditional frying can feel like an ordeal with preheating oil and constant monitoring to prevent burning. With an air fryer, you can have crispy chicken katsu in as little as 15 minutes without sacrificing that signature crunch.
For inspiration on quick air fryer meals, this Chicken Patties in Air Fryer recipe offers another fast and flavorful option.
Retaining Crispy Texture in Air-Fried Katsu
Many worry that air frying won’t deliver the same satisfying crunch. But with the magic of panko breadcrumbs and hot air circulation, you’ll get a beautifully golden, crispy texture that rivals deep frying. The trick? A light spray of oil over the breaded chicken to achieve that perfect finish.
Ingredients for Air Fryer Chicken Katsu
Essential Ingredients for Authentic Flavor
To make an authentic and flavorful air fryer chicken katsu, you’ll need the following ingredients :
- Chicken breasts (boneless, skinless)
- Panko breadcrumbs (Japanese-style breadcrumbs)
- Eggs (for coating)
- All-purpose flour (to create the base layer)
- Salt and pepper (to season the chicken)
- Cooking spray or oil (light coating for crispiness)
These simple ingredients work harmoniously to create a mouthwatering dish.
Recommended Substitutions and Additions
Want to switch things up? Here are a few ideas :
- Use chicken thighs instead of breasts for a juicier cut.
- Try gluten-free panko breadcrumbs if you’re avoiding gluten.
- Add a pinch of paprika or garlic powder to the flour for an extra kick of flavor.
“Cooking is all about making it your own. Don’t be afraid to get creative with the seasonings or try new ingredients!”
Step-by-Step Guide to Making Air Fryer Chicken Katsu
Preparing the Chicken: Cutting and Tenderizing
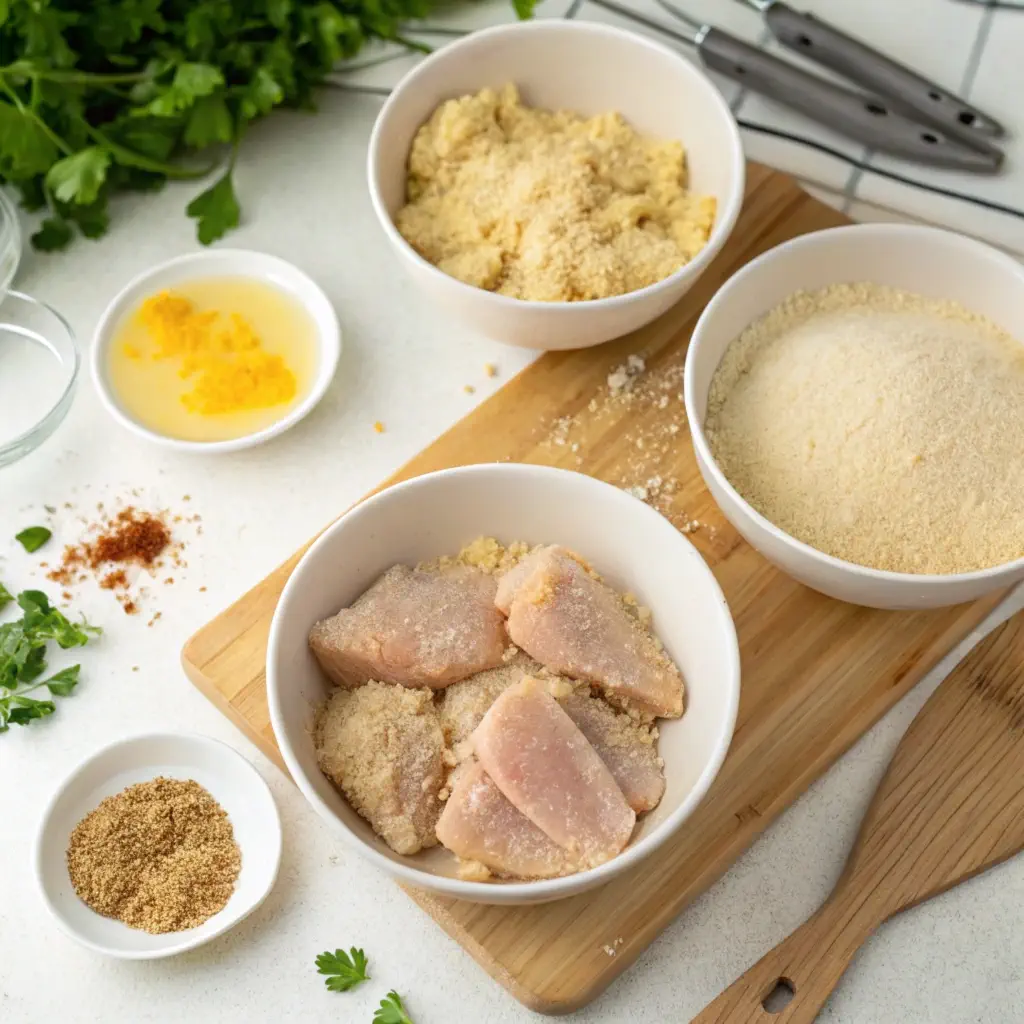
Start by slicing the chicken breasts horizontally into thin, even pieces. This helps ensure they cook quickly and evenly in the air fryer. Use a meat tenderizer to flatten the pieces slightly, which also helps to make the chicken extra tender.
Creating the Perfect Panko Coating
The crispy coating is the star of the show! Set up a breading station with three bowls:
- Flour mixture: Seasoned with salt and pepper.
- Egg wash: Beaten eggs for binding.
- Panko breadcrumbs: Lightly seasoned for flavor.
Dip each chicken piece into the flour, then the egg wash, and finally coat it generously with panko. Make sure the breadcrumbs stick evenly for maximum crunch. 🌟
Prepping the Air Fryer for Optimal Results
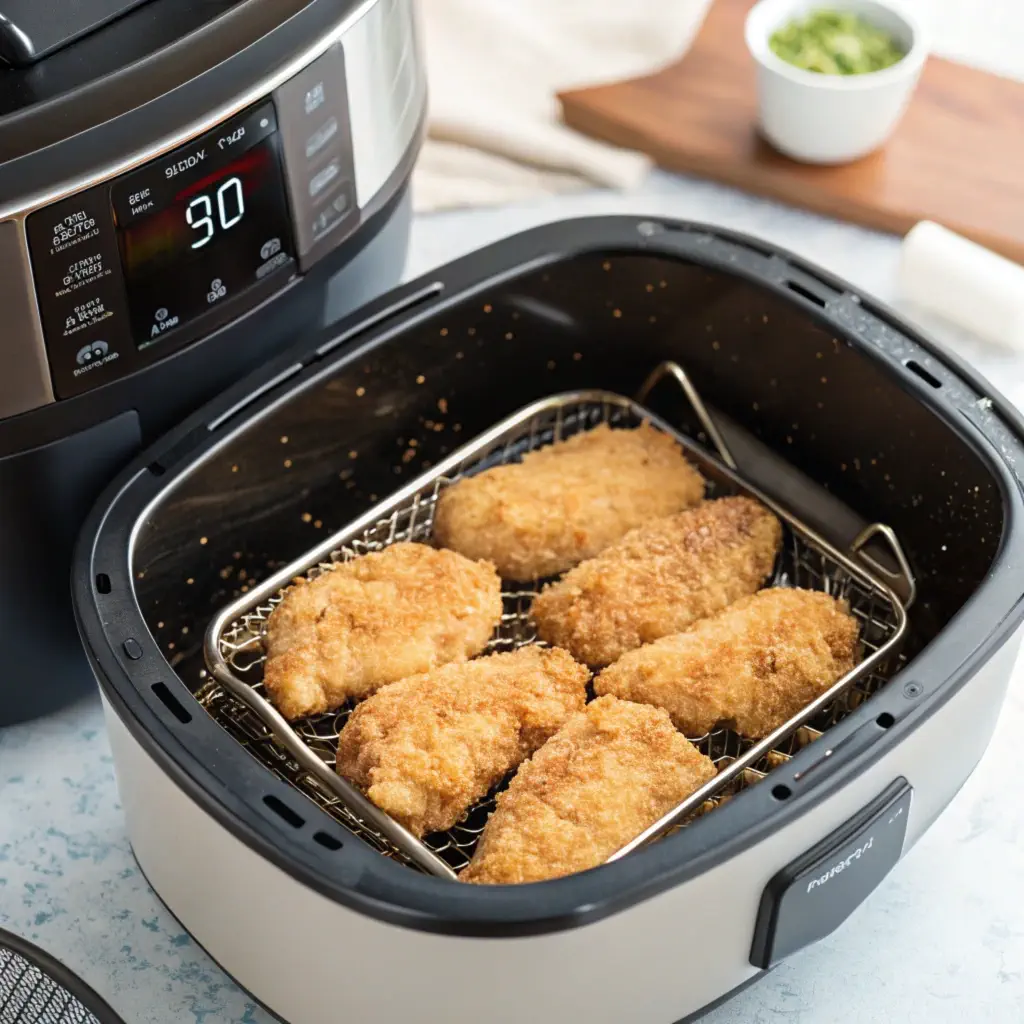
Preheat your air fryer to 375°F (190°C). Lightly spray the basket with cooking spray to prevent sticking. Place the breaded chicken pieces in a single layer, ensuring there’s enough space between them for proper airflow. Crowding the basket can lead to uneven cooking—so don’t rush it.
Cooking Instructions for Evenly Cooked Katsu
Cook the chicken for 8-10 minutes per side, flipping halfway through. To achieve that signature golden crust, lightly spray the top of the breaded chicken with oil before cooking. Keep an eye on the pieces during the last few minutes to avoid overcooking.
Tips for Achieving a Golden Crispy Finish
Here are some pro tips :
- Use cold chicken to help the breading stick better.
- Don’t skimp on the cooking spray; it’s essential for creating that crispy crust.
- If your air fryer has multiple racks, rotate them halfway through cooking for even browning.
“Mastering chicken katsu in the air fryer is all about patience and precision. Follow these tips, and you’ll nail it every time!”
Common Problems and How to Fix Them
Making air fryer chicken katsu can feel like a breeze—until something goes wrong. But don’t worry; most issues are easy to fix with a little know-how. Let’s tackle some of the most common challenges and their solutions.
Why Isn’t My Katsu Crispy? Troubleshooting Texture Issues
One of the most common frustrations is ending up with soggy chicken katsu. Nobody wants that, right? Here’s why it might happen and how to fix it:
- Not Enough Oil Spray: A light spritz of oil over the breaded chicken ensures the breadcrumbs crisp up. No oil = no crunch. 🌟
- Overcrowding the Air Fryer Basket: Too many pieces at once can block airflow, preventing even cooking. Always leave space between pieces.
- Skipping the Preheat Step: A preheated air fryer creates the right environment for crispiness.
Fix these issues, and your chicken katsu will come out crispy every single time!
“Remember, the air fryer is like a mini convection oven. Treat it right, and it will reward you with perfect results.”
Overcooking or Undercooking in the Air Fryer: How to Avoid It
Getting the timing right can be tricky, especially if you’re new to air frying. Overcooked katsu can be dry, while undercooked katsu is unsafe to eat. Here’s how to avoid both pitfalls:
- Use a Meat Thermometer: The internal temperature of cooked chicken should reach 165°F (74°C). This takes the guesswork out of cooking.
- Flip Halfway Through: This ensures the chicken cooks evenly on both sides.
- Adjust for Thickness: Thicker pieces may need a few extra minutes, while thinner cuts cook faster.
Preventing the Coating from Falling Off
Few things are more frustrating than watching your beautiful breading fall off the chicken. 😩 Here’s how to ensure your katsu stays intact:
- Pat the Chicken Dry: Excess moisture on the chicken can cause the coating to slip off.
- Press the Breadcrumbs Firmly: After coating the chicken in panko, press it gently to help the breadcrumbs adhere.
- Don’t Skip the Egg Wash: The egg acts as a glue between the flour and breadcrumbs, so don’t skimp on it.
“Think of the coating as armor for your chicken—it needs to stick tightly to do its job.”
Delicious Sauces to Pair with Air Fryer Chicken Katsu
While chicken katsu is delicious on its own, pairing it with the right sauce takes it to the next level. Here are some classic and modern options to try.
Traditional Tonkatsu Sauce: A Perfect Match
Tonkatsu sauce is the ultimate companion for chicken katsu. This sweet, tangy, and slightly savory sauce is made from a blend of :
- Worcestershire sauce
- Ketchup
- Soy sauce
- Sugar
You can find bottled versions at most Asian grocery stores, but homemade tonkatsu sauce tastes fresher and more customizable.
Modern Twists: Spicy Mayo, Honey Mustard, and More
If you’re feeling adventurous, try these modern sauce options :
- Spicy Mayo: A simple mix of mayo and Sriracha adds a spicy kick.
- Honey Mustard: The sweetness of honey combined with tangy mustard is a crowd-pleaser.
- Garlic Aioli: Creamy and garlicky, this sauce complements the crispy katsu perfectly.
“A good sauce is like the cherry on top—it ties the whole dish together and makes every bite unforgettable.”
Serving Suggestions for Air Fryer Chicken Katsu
Air fryer chicken katsu is versatile, making it perfect for everything from traditional meals to fusion dishes. Here are some ideas to inspire your next meal.
Classic Rice and Cabbage Pairing
For a traditional Japanese presentation, serve your chicken katsu with :
- Steamed white rice: The neutral flavor balances the richness of the katsu.
- Shredded cabbage: Lightly drizzle with sesame dressing for added flavor.
- Miso soup: A warm bowl of miso soup makes the meal feel complete.
Innovative Fusion Dishes Featuring Katsu
If you’re in the mood to experiment, chicken katsu works wonderfully in fusion recipes:
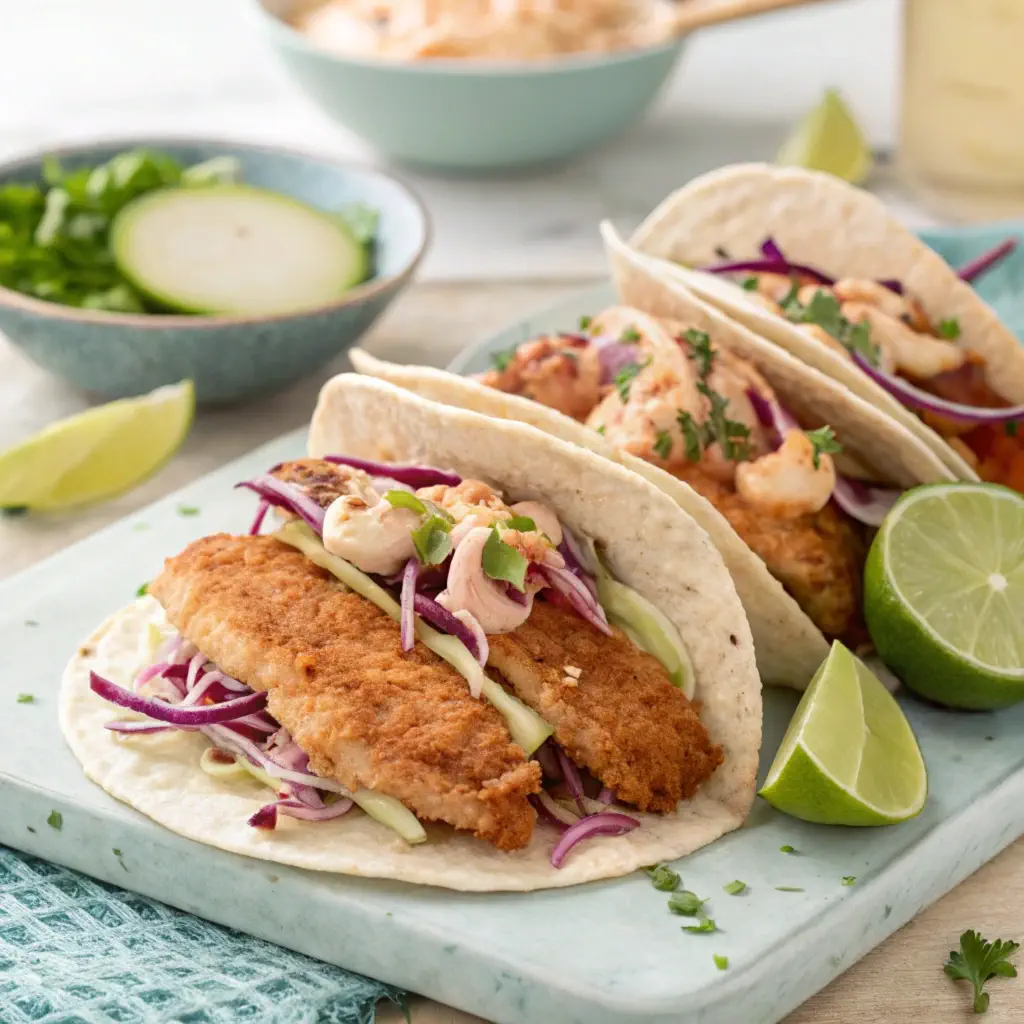
- Katsu Tacos: Slice the chicken into strips and stuff them into soft tortillas with cabbage slaw and spicy mayo.
- Katsu Burgers: Place the chicken katsu on a toasted bun with lettuce, tomato, and tonkatsu sauce.
- Katsu Curry: Pair your katsu with a steaming plate of Japanese curry for a hearty meal.
How to Store and Reheat Air Fryer Chicken Katsu
Made too much katsu? No problem! Here’s how to store and reheat it without losing its signature crispiness.
Best Practices for Refrigeration and Freezing
- Refrigeration: Store leftover katsu in an airtight container for up to 3 days.
- Freezing: Wrap each piece individually in plastic wrap and place them in a freezer-safe bag. Katsu can be frozen for up to 3 months.
Reheating Without Losing Crispiness
To reheat your chicken katsu while keeping it crispy, follow these steps :
- Preheat your air fryer to 350°F (175°C).
- Place the katsu in the basket and heat for 5-7 minutes.
- Flip halfway through to ensure even reheating.
Avoid using a microwave, as it can make the breading soggy.
“Think of reheating as giving your katsu a second chance to shine—it’s worth the extra effort!”
FAQs About Air Fryer Chicken Katsu
Chicken katsu might seem straightforward, but there’s always room for questions. Here are some frequently asked questions to help you become a katsu master.
Can I Use Frozen Chicken for Air Fryer Katsu ?
Yes, you can use frozen chicken, but there are a few steps to keep in mind :
- Thaw the Chicken First: Breaded chicken doesn’t cook evenly if it’s frozen solid. Thaw it in the refrigerator overnight or use a quick-thaw method by submerging it in cold water.
- Adjust Cooking Time: If the chicken is partially frozen, you may need to add an extra 5-7 minutes to the cooking time.
Pro Tip: If you’re in a hurry, frozen pre-breaded chicken cutlets are a convenient option. Just pop them into the air fryer and adjust the timing according to the package instructions.
What Air Fryer Settings Are Ideal for Cooking Katsu ?
The perfect air fryer settings depend on the model you’re using, but here’s a general guideline :
- Temperature: 375°F (190°C)
- Time: 16-20 minutes (flip halfway through)
- Placement: Arrange the pieces in a single layer to ensure even cooking.
Always check the internal temperature with a meat thermometer to ensure your chicken is fully cooked.
“Getting the settings just right is like finding the sweet spot—it takes a bit of trial and error, but it’s worth it!”
Are There Gluten-Free Options for Making Katsu ?
Absolutely! If you’re avoiding gluten, you can still enjoy air fryer chicken katsu by making a few swaps :
- Use Gluten-Free Panko: These are widely available at most grocery stores or online.
- Substitute All-Purpose Flour: Replace it with almond flour, rice flour, or a gluten-free all-purpose blend.
- Check Your Sauce: Some tonkatsu sauces contain soy sauce, which may have gluten. Opt for a gluten-free soy sauce or tamari-based sauce.
Conclusion: Savoring a Healthier Take on a Beloved Dish
Air fryer chicken katsu is proof that you don’t have to sacrifice flavor to make healthier choices. With its golden, crispy exterior and juicy, tender chicken, this dish delivers all the satisfaction of traditional katsu without the guilt. Whether you’re cooking for yourself, your family, or guests, it’s a guaranteed crowd-pleaser.
By now, you’ve got all the tools you need—from the perfect breading technique to troubleshooting common issues and exploring creative ways to serve your katsu. So why wait? Fire up that air fryer and let your kitchen fill with the irresistible aroma of homemade chicken katsu. 🍗✨
“Healthy eating doesn’t have to be boring. With air fryer chicken katsu, every bite is a little celebration of flavor, tradition, and innovation!”
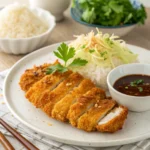
Air Fryer Chicken Katsu
- Total Time: 32 mins
- Yield: 4 servings 1x
Description
Ingredients
-
For the Chicken Katsu:
- 2 boneless, skinless chicken breasts
- 1 cup all-purpose flour
- 2 large eggs
- 1 cup panko breadcrumbs
- Salt and pepper, to taste
- Cooking spray or oil
-
For the Tonkatsu Sauce:
- 1/4 cup ketchup
- 2 tablespoons Worcestershire sauce
- 1 tablespoon soy sauce
- 1 tablespoon mirin
- 1 teaspoon sugar
Instructions
-
Prepare the Chicken:
- Slice each chicken breast horizontally to create two thinner cutlets. Pound them gently to ensure even thickness.
- Season both sides with salt and pepper.
-
Set Up Breading Stations:
- Place flour in one shallow dish.
- Beat eggs in a second shallow dish.
- Place panko breadcrumbs in a third shallow dish.
-
Bread the Chicken:
- Dredge each chicken cutlet in flour, shaking off excess.
- Dip into beaten eggs, allowing excess to drip off.
- Press into panko breadcrumbs, ensuring an even coating. For extra crispiness, press the breadcrumbs firmly onto the chicken.
-
Preheat the Air Fryer:
- Preheat your air fryer to 180°C (350°F) for about 5 minutes.
-
Cook the Chicken:
- Lightly spray both sides of the breaded chicken with cooking spray or brush with a small amount of oil.
- Place the chicken cutlets in a single layer in the air fryer basket. Cook in batches if necessary to avoid overcrowding.
- Air fry at 180°C (350°F) for 10-12 minutes, flipping halfway through, until the chicken is golden brown and reaches an internal temperature of 75°C (165°F).
-
Prepare the Tonkatsu Sauce:
- In a small bowl, whisk together ketchup, Worcestershire sauce, soy sauce, mirin, and sugar until smooth. Adjust the sweetness or tanginess to your preference.
-
Serve:
- Slice the chicken katsu into strips.
- Serve hot over steamed rice, accompanied by shredded cabbage.
- Drizzle with tonkatsu sauce and enjoy!
- Prep Time: 20 mins
- Cook Time: 12 mins
- Method: Air Fryer
- Cuisine: japanese
Nutrition
- Serving Size: 1 serving
- Calories: 450 kcal
- Sugar: 5 g
- Sodium: 850 mg
- Fat: 15 g
- Saturated Fat: 2 g
- Unsaturated Fat: 12 g
- Trans Fat: 0 g
- Carbohydrates: 45 g
- Fiber: 2 g
- Protein: 28 g
- Cholesterol: 120 mg

